Difference between revisions of "Part 2: Create a new Team"
From AgileApps Support Wiki
Wikieditor (talk | contribs) |
Wikieditor (talk | contribs) |
||
| Line 13: | Line 13: | ||
## Click '''Save'''. | ## Click '''Save'''. | ||
# Optionally, you can create more teams for the North, Central, West, and Canada regions. This step is optional since you will not be using these Teams in the rest of the exercises in this course. | # Optionally, you can create more teams for the North, Central, West, and Canada regions. This step is optional since you will not be using these Teams in the rest of the exercises in this course. | ||
------------------------------------------------------------------------------------------------------------------------------------------------------------------------------------------------------------------------------------------------------------------------ | |||
:{| border="0" align="left" cellpadding="5" cellspacing="1" | |||
| | |||
[[Part 1: Define an Access Profile|Previous]] | |||
|} | |||
:{| border="0" align="right" cellpadding="5" cellspacing="1" | |||
| | |||
[[Part 3: Create three new Users and edit your User Profile|Next]] | |||
|} | |||
Revision as of 10:45, 14 December 2022
In the company that uses the MyOrders application different teams track different orders according to region (SouthEast, North, Central, West, and Canada).
The use of Teams divides the MyOrders data into slices. This means, for example, that the Team members in the Southwest region and in the Northeast region can use the same application, without seeing each other’s records (unless and until they are intentionally shared).
In this part of the exercise, you create the SouthEast orders team.
- Ensure you are in the MyOrders application.
- Go to the Configuration page, under the Administration tile, click Access Management.
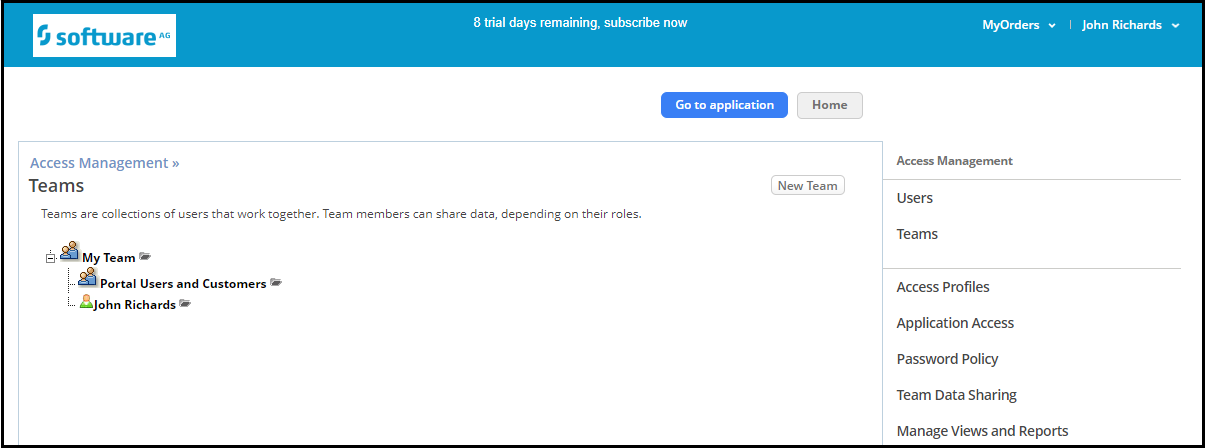
- Click Teams. By default, there are two Teams created for the tenant:
- Create a Team for the users responsible for SouthEast Orders:
- Optionally, you can create more teams for the North, Central, West, and Canada regions. This step is optional since you will not be using these Teams in the rest of the exercises in this course.

